Task Information Screen
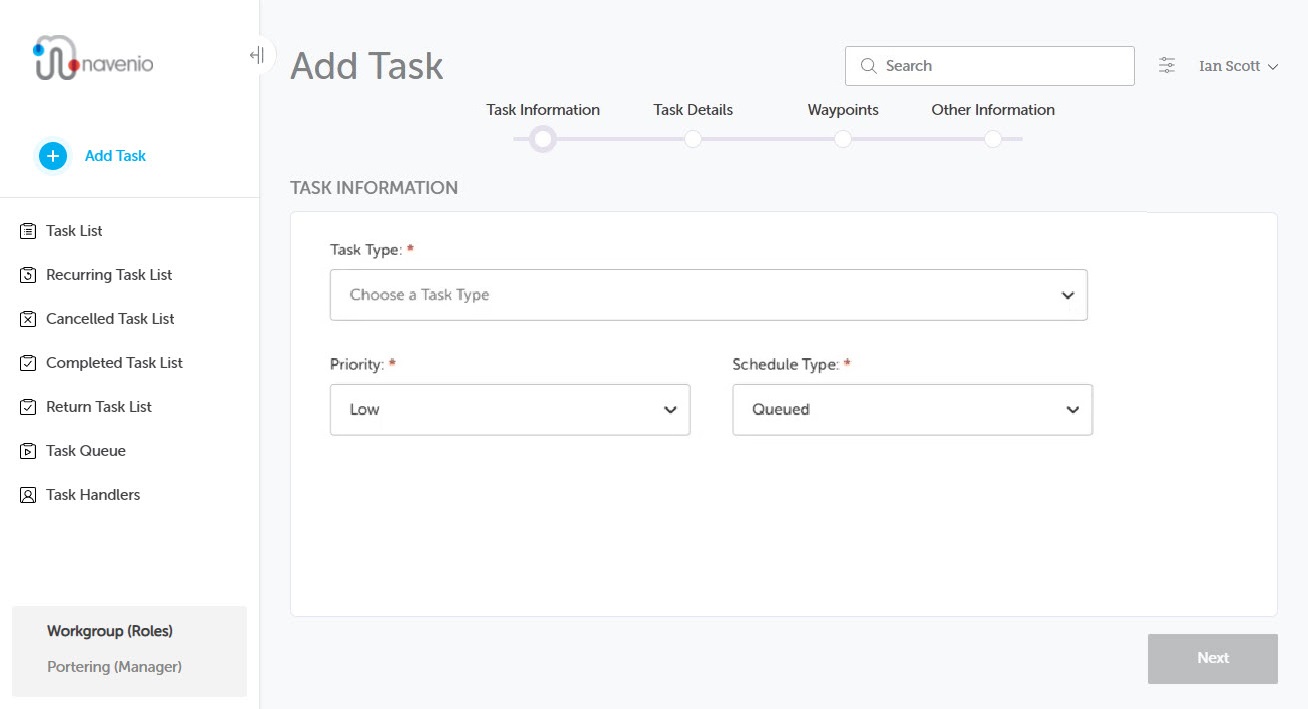
- Choose the Task Type you require by selecting an option from the drop-down menu. You can type a keyword into the field to filter the list and select from a shorter selection.
- Choose the Priority level from the drop-down menu.
- Choose the Schedule Type for the task from the drop-down menu.
-
Click Next or use the progress bar to continue to the Task Details screen.
Note: There are tasks that are simple and straightforward which do not require information entered on the Task Details screen. If the task is a type that has been configured this way, clicking the Next button will bypass the Task Details screen and display the Waypoints screen.
Queued Task
A Queued task is one that joins the task queue as soon as it is created so it can be performed as soon as possible.
Scheduled Task
- The scheduled task option allows you to set on which date and time a task needs to be performed. The system will not allow a scheduled task to be created for less than 30 minutes in the future. Accordingly, when you select a time, you can only select at least the current time plus 30 minutes. A scheduled task joins the queue automatically based on the specified time (start time or completion time).
- If you have selected a scheduled task, the following fields display, which need to be completed:
- Date - Enter or click on the date selector to pick a date.
- Specify Time - Select the time set as either the Start Time or Completion Time.
- Time - Enter the required time or use the time selector to pick a time.
Recurring Task
If you selected a Recurring task the following fields display:
- Recurring Task Description - Enter descriptive text.
- Start Date and End Date - Enter or use the date selector to pick the relevant dates.
- Create Tasks On National Holidays - Select Yes or No as required.
- Specify Time - Select the time set as either the Start Time or Completion Time.
- Time - Enter the required time or use the time selector to pick a time.
- Days - Click the Days field and select the days the task is to take place on.
- Add Interval - Add additional time and days to create a more complex recurrence schedule.
If you need to remove an interval, hover over the interval you want to delete then click the resulting delete button. You will be asked to confirm the deletion before it is removed.
Note: Start Dates cannot be set in the past. E.g., If you create a task scheduled daily at 9.30 am but create it at 9.35 am the first instance will be scheduled for the next day.
Note: There needs to be at least one interval, so it is not possible to delete all intervals.
Daylight Saving and Recurring and Scheduled Tasks
In countries that adjust the clocks in the spring and autumn, the system ensures that all tasks due to run during the time change will run successfully. For full details, please see Effect of Daylight Saving on Recurring and Scheduled Tasks.