Clear Return Tasks
If a return task is not required, it can be removed from the Return Task List. However, tasks remain on the list until they are cleared.
-
To clear unwanted tasks from the Return Task list, select those tasks by clicking on the check box adjacent to the task ID.
-
When the first task has been selected, a banner notification is displayed at the bottom of the screen with the number of tasks selected and a Clear Task button.
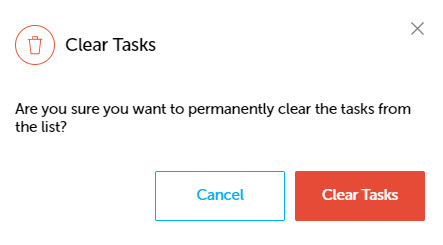
When all relevant tasks have been selected, click Clear Tasks. A confirmation message is displayed.
-
Click
 to clear all selected tasks.
If just one task was selected, a notification displays confirming the task has been cleared.
If multiple tasks were selected, a notification displays confirming that tasks have been cleared.

If all tasks are to be cleared, click the check box adjacent to the Task ID column heading. This will select all tasks on the current page.
If there are more tasks than the default number for the page length, click the Show Next button as required to display all the tasks and then click the check box adjacent to the Task ID column heading to select all displayed tasks.
If you do not want a task selected, click the check box again to deselect the task. Clicking the check box adjacent to the Task ID heading will deselect all selected tasks.
Note: If you are clearing a single task, you can also click on the task to display the flyout and click the Clear Task button.
The task(s) are removed from the Return Task list.