Self-Assign/Switch Roles/Locations
For users that move around within the organisation on a regular basis, the system can be set up for these users to assign or swap their role as required and also set their default location.
Update Roles
Users that move around the organisation are given Self-Assign permissions which allows them access to a restricted view of the User Management screen with just their user details.
Note: If the user has User Management system administration permissions, they will see the User Management screen as usual and will need to locate their user details. If they have User Management system administration read-only permissions, they will see just their own user details.
Within the User Management screen, they can assign themselves the role for the work they have been asked to perform at that point in time. Only roles that have been set for self-assignment are displayed for the user to select.
The user can deselect existing roles and select other required roles whenever they are moved to another job.
Note: They can also set a default location. For details on this, see the Default Location paragraph below.
To self-assign or switch role:
-
Log on to IWS Portal. The Task List is displayed.
Note: The first time a user logs on, they will have no role selected and the Task List will not display any tasks.
-
Click Update Roles in the bottom left-hand corner of the screen.
-
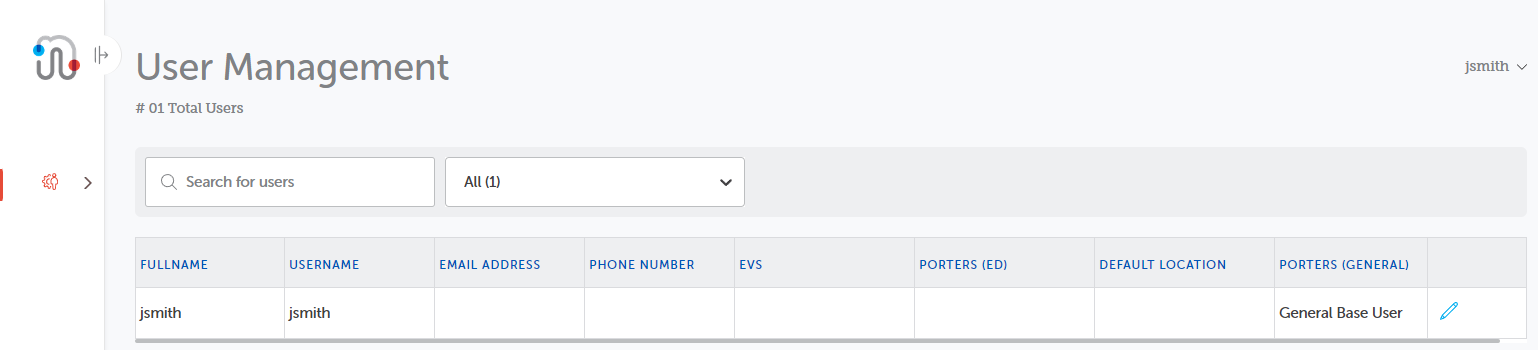
The User Management screen displays in a new tab with the user's details.
-
To make changes to the roles, click the Edit
 pen at the right of the row.
 -
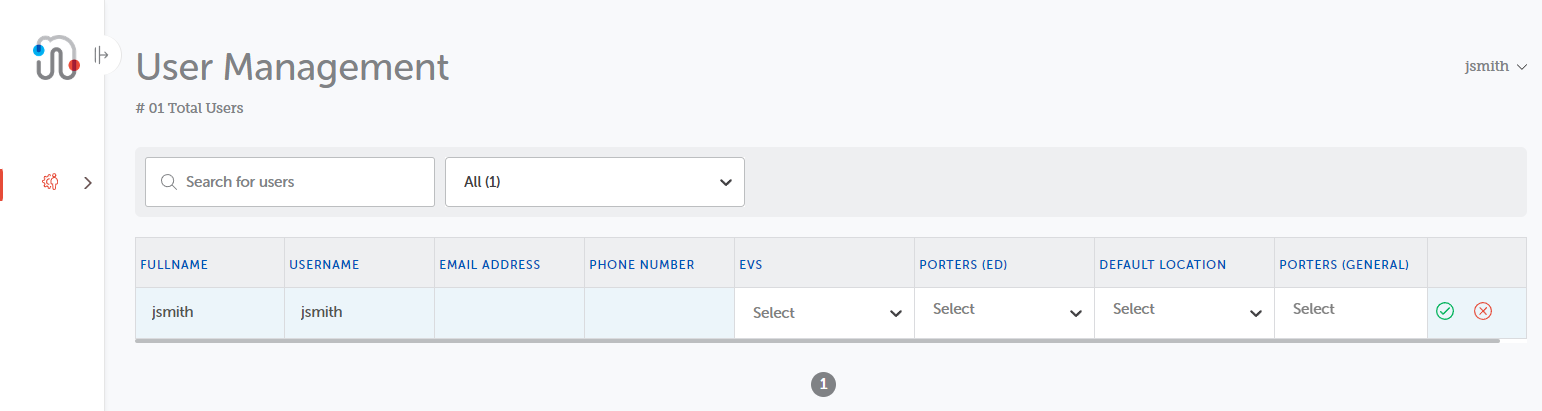
For users with no role/location assigned, use the role/location column drop-downs to select the roles/locations as required for the job currently allocated.
-
For users with an existing role assigned who are switching role, remember to deselect the current roles as well as selecting the new ones.
-
In the roles drop-downs, none, one or multiple roles/locations can be selected. The number of roles selected is displayed in the field. If no roles have been selected from the drop-down, Select is displayed.
-
When the required changes to the role columns have been made, click Save
 .
.Note: The Save icon will become active in the Action column when the first change has been made.
-
Click Cancel
 to back out of the screen without saving any changes.
 -
When you have saved the changed, the Action column displays the Edit
icon. Click Edit to access the drop-downs if you realise you need to make further changes to your roles/locations.
Note: The user's Full Name, User Name, Email Address and Phone Number columns are read-only.
When you return to the IWS Portal tab Task List, the tasks displayed will reflect the changes you have made to your role.
Default Location
There are two methods of setting a default location:
-
the Default Location drop-down
-
setting the default location via the Update Roles option.
Which option is used will depend on the impact you require on the task list and adding tasks.
Default Location Drop-down
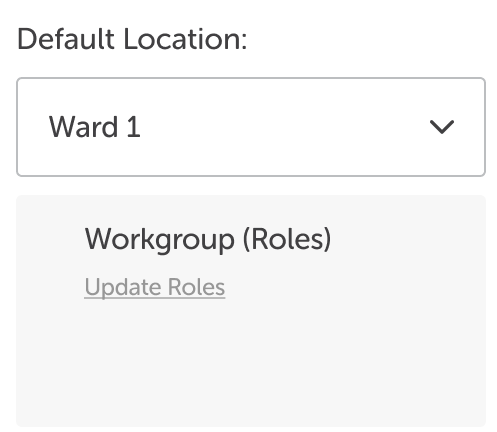
Tutorial: For a brief overview of the process, click the above image to view the Default Location (Drop-down) training video. For full details, continue reading below.
For users that work across multiple locations, for example ward staff working across multiple wards, the default location is easily changed. A Default Location drop-down displays in the bottom left-hand corner of the screen.
To change the default location, click the new Default Location drop-down and select the relevant location.

In new tasks created, waypoints, configured to automatically populate with the default location, display the new default location.
Note: Changing the default location does not affect what tasks are displayed on the screen.
Setting a Default Location via Update Roles
When Updating Roles, users can also set a default location. This filters their Task List, to include only tasks that have a waypoint with the default location and automatically populates the relevant waypoint with the deafult waypoint.
Tutorial: For a brief overview of the process, click the above image to view the Default Location (Update Role) training video. For full details, continue reading below.
-
Click Update Roles in the bottom left-hand corner of the screen.
-
To make changes to the roles, click the Edit
pen at the right of the row. -
Click on the Default Location column and select the required location.
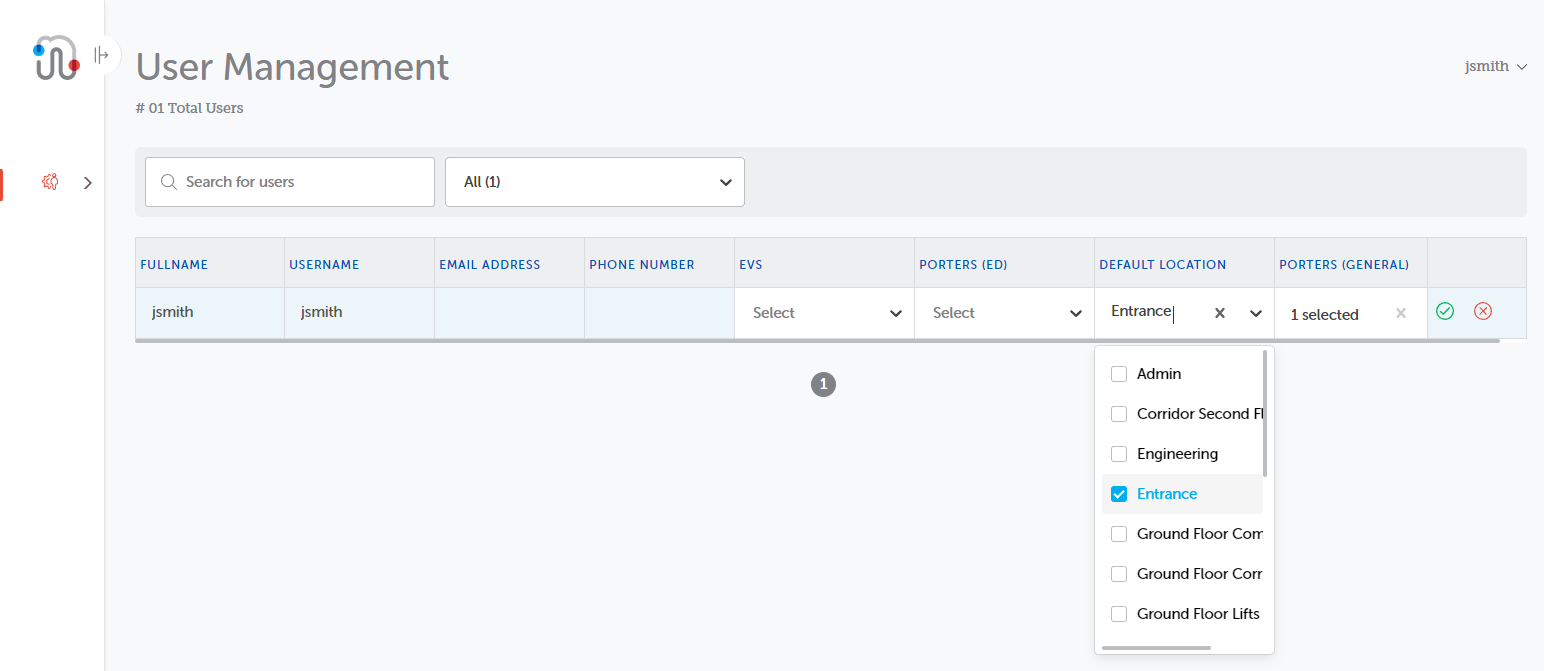
-
The location is displayed in the Default Location column.
-
When the required changes to the role columns have been made, click Save
.
When you return to the IWS Portal tab, the Task List display reflects the changes you have made to your role and only display those tasks that have a waypoint set to the default location.
Any new tasks created will have the relevant waypoint populated automatically with the default waypoint.
Multiple Default Waypoints
When using the Update Roles method, multiple default locations can be selected.
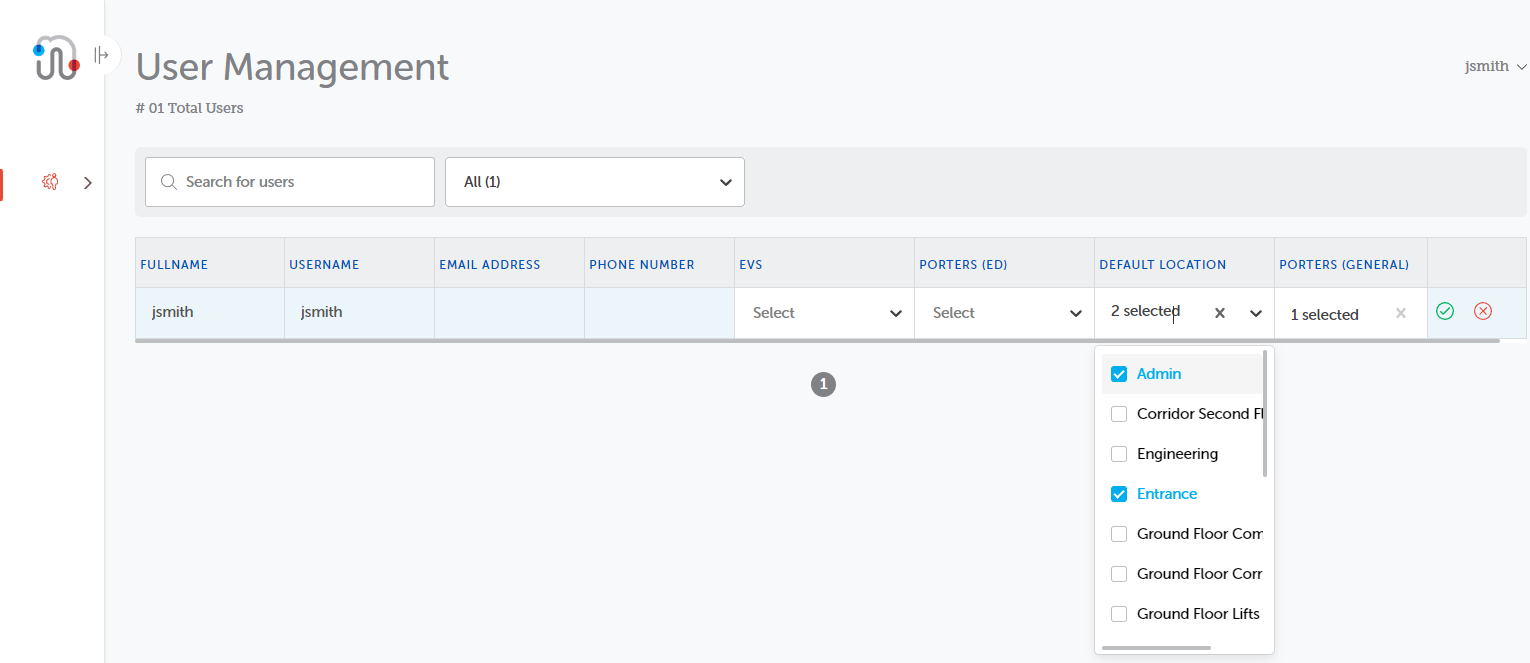
In this instance, the number of selected locations is displayed in the Default Location column.
When the Task List is displayed, only those tasks that include at least one of the default locations are displayed.
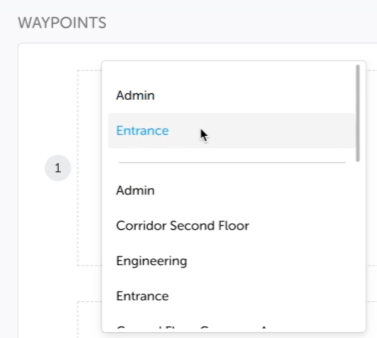
When adding a new task, no waypoint is automatically populated, but when the waypoint drop-down is clicked, the default locations are displayed at the top of the drop-down for easy selection.