Create Return Task
-
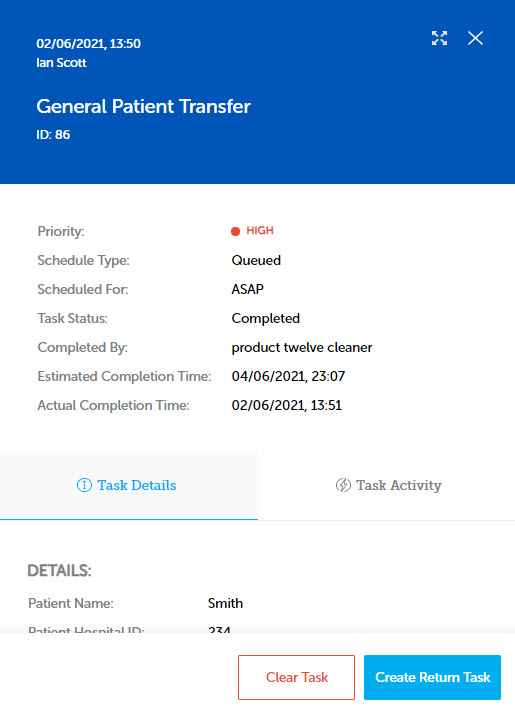
From the Return Task list, click on the task you want to return.
The flyout with the task details is displayed.
-
Click
 . The Create Return Task dialog is displayed. This is the same as the Add Task screen.
 -
On the Create Return Task dialog, the Task Type cannot be amended.
The Schedule Type field is defaulted to Queued.
-
Click Next.
-
In the Task Details, Waypoints and Other Information screens, details from the outbound task are populated by default but can be modified if required.
On the Waypoints screen, the waypoints will be displayed in reverse order to the outbound task.
Click Next to proceed from one screen to the next until on the Other Information screen where you click Submit Task.
-
The return task is added to the Task List page, which is displayed, under the Unassigned tab, ready for a task handler. A notification confirming the return task has been added is displayed.
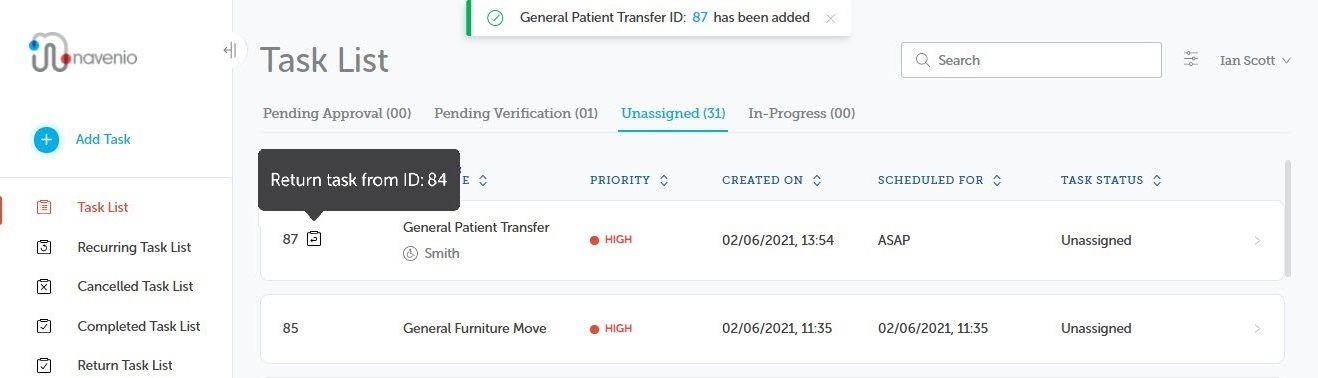
The task ID has an icon
 adjacent to indicate that it is a return task. A click on the icon displays the outbound task ID.
 -
Click on the task to display the flyout. The task activity shows that it is a return task and the outbound task ID is displayed.
-
The outbound task is removed from the Return Task list.
Note: Return tasks that require approval go through the approval stage unless the portal user creating the return task has approval permission.
Note: When a return task is completed, it is added to the Return Task list.
Note: When a return task is assigned to a task handler, the task details in the Mobile app include a banner advising that it is a return task.